Sign up, name your business and open your admin.
How to Login to RazorBooking (Step-by-Step Guide)
Step 1: Open RazorBooking Website
Open your browser
Visit the RazorBooking website
On the top-right corner, click on “Login”
You will also see a “Starts for free” button next to it.
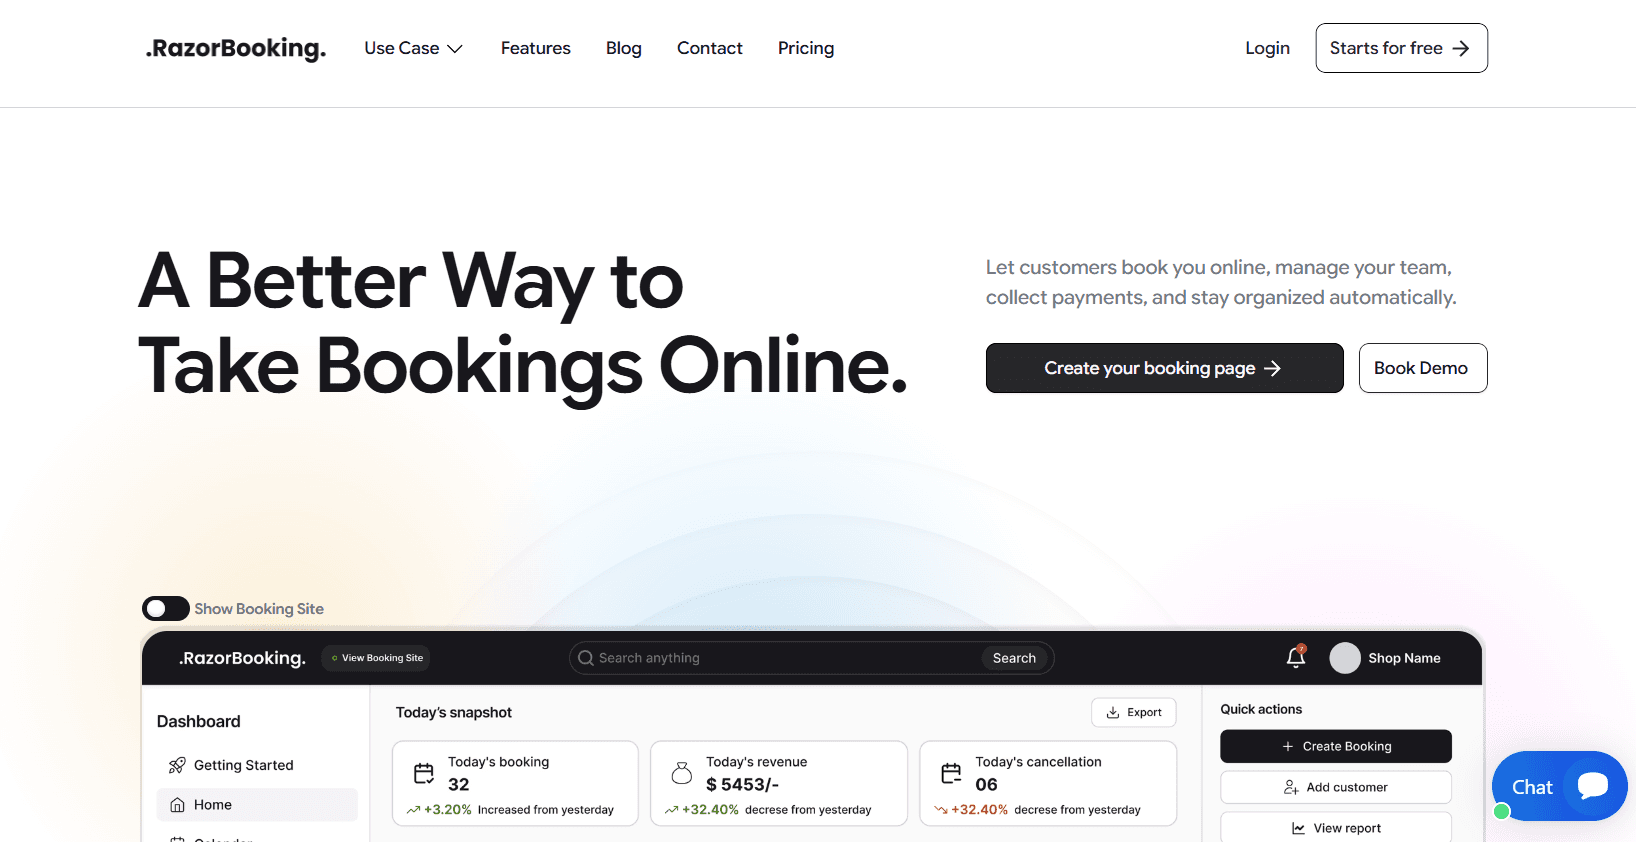
Step 2: Login / Create Account Screen
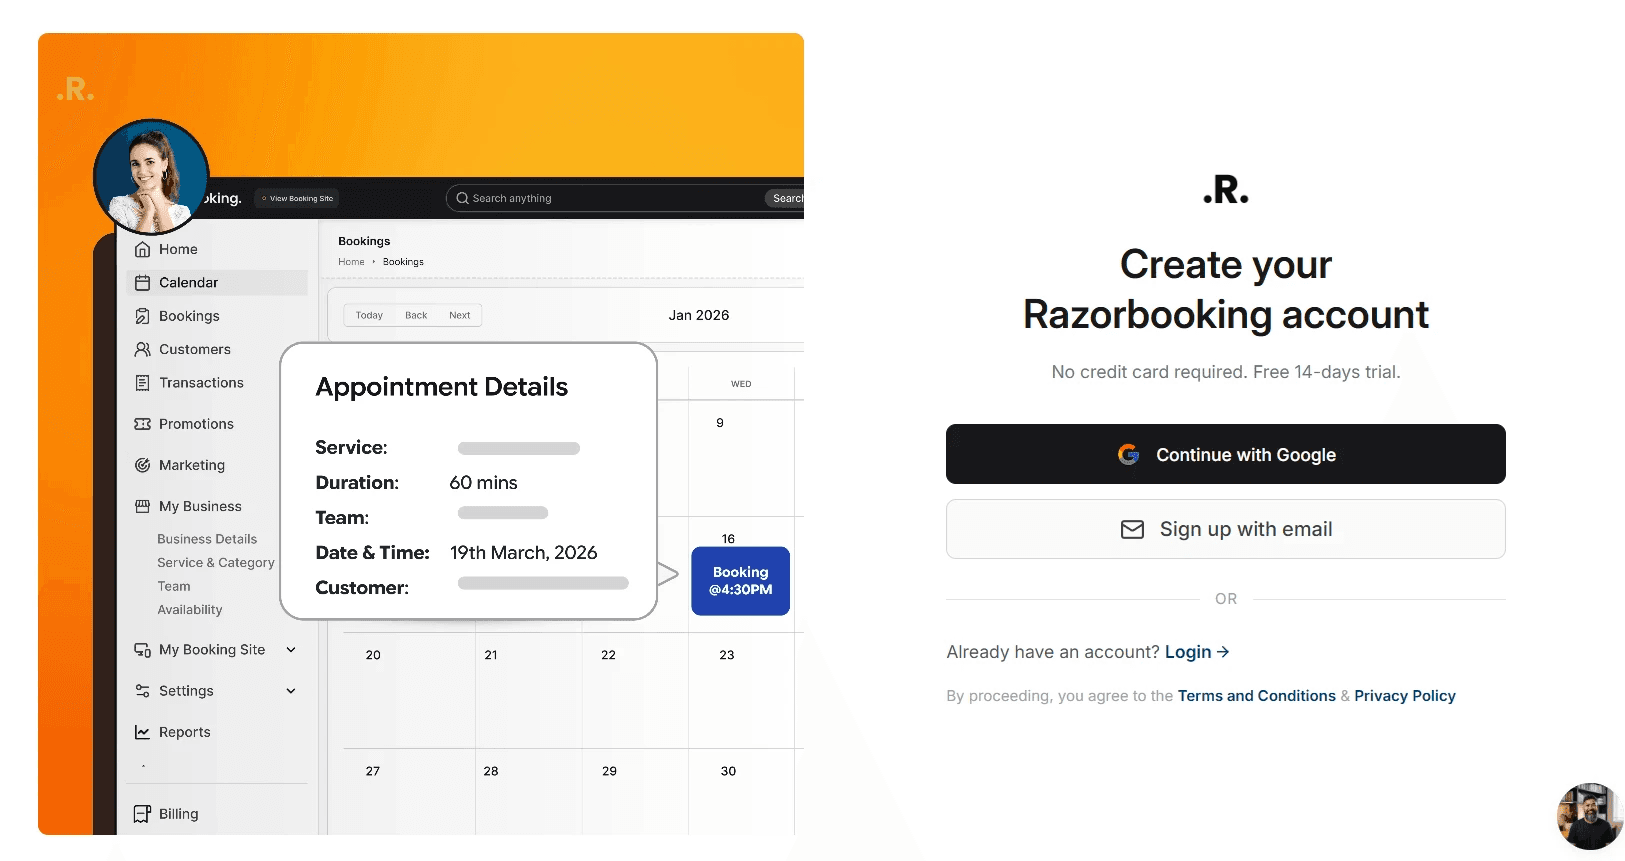
After clicking Login, you will land on the account access page with the heading:
“Create your Razorbooking account”
Here you will see:
Option 1: Continue with Google
Click on “Continue with Google”
Select your Google account to proceed
Option 2: Sign up with Email
Click on “Sign up with email”
Enter your details to continue
Below, there is also:
“Already have an account? Login →” (use this if you already registered)
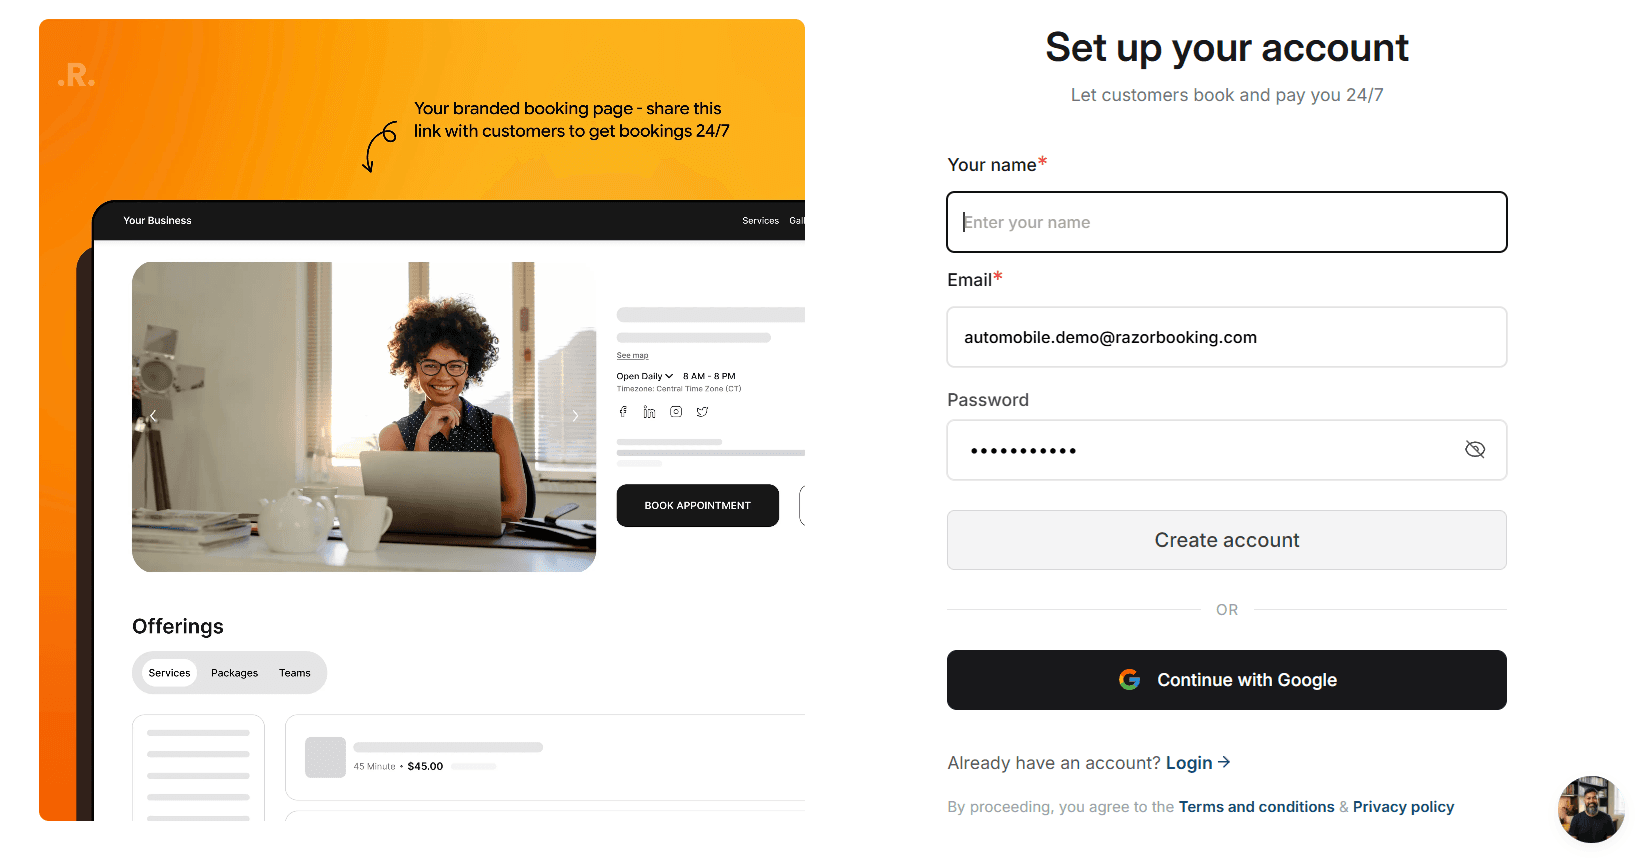
Step 3: Successfully Logged In (Dashboard View)
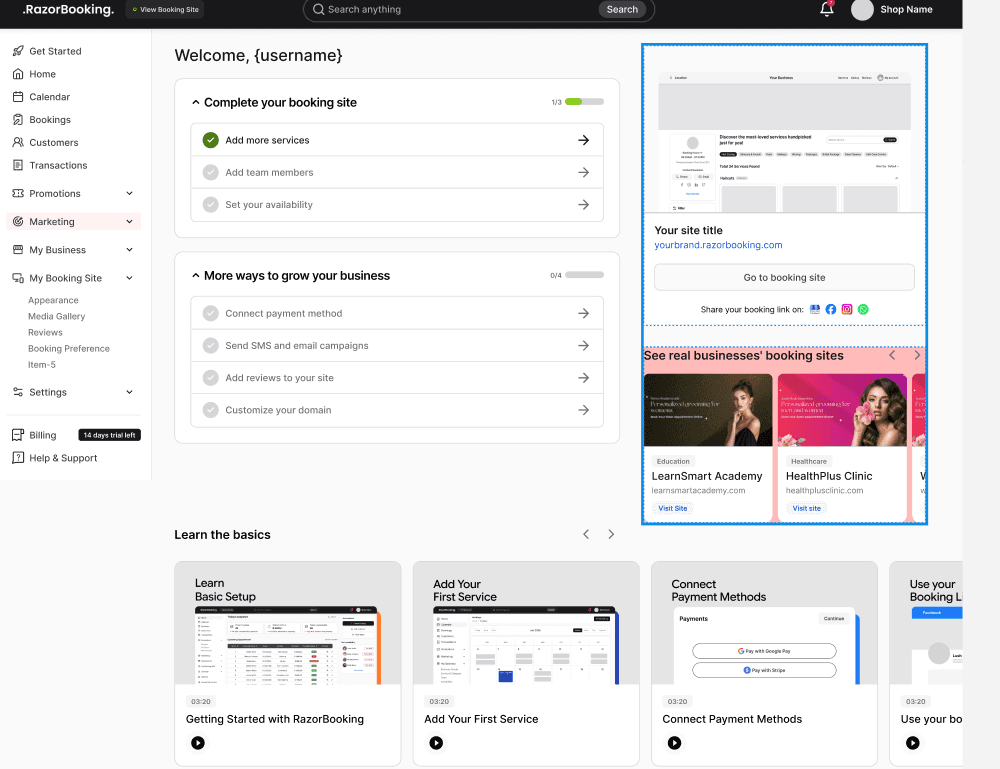
Once logged in, you will see your RazorBooking Dashboard.
On the left sidebar, options available:
Home
Calendar
Bookings
Customers
Transactions
My Business
My Booking Site
Marketing
Settings
Invoices
Reports
Billing
Help & Support
On the main screen:
You can see Billing Management
Subscription section (Monthly / Yearly)
Option to Subscribe
Related Pages
Need Help
If you experience any issues while logging in, contact our support team or use the in-app chat for assistance.